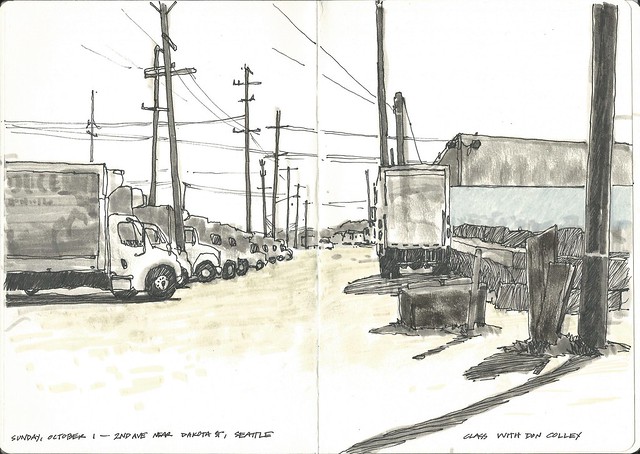
With a class coming up this weekend on sketching with markers, I thought I would show a few examples of how I use markers when I sketch on location.
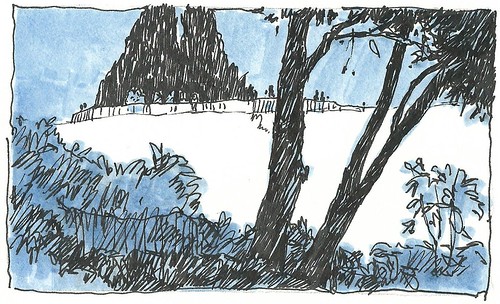
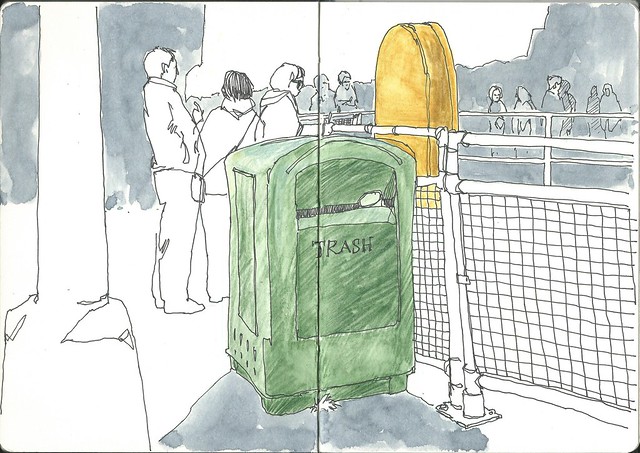
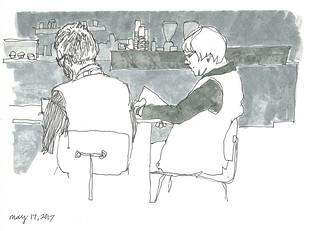
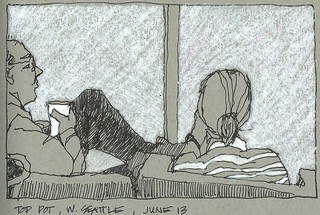
Just three markers - a light, medium and dark - can be really effective. I start sketching with the lightest marker and then fill in shadows and tones with the middle and dark marker. Your markers don't need to be traditional gray for this, either!
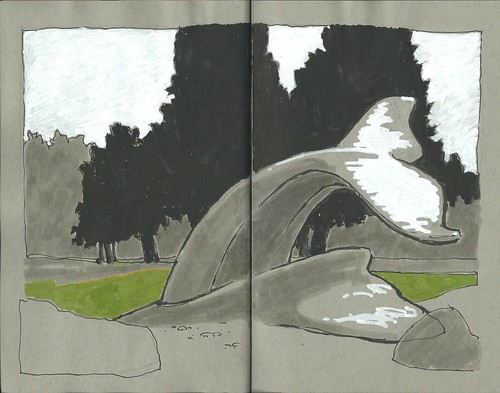
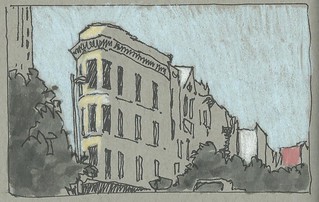
Often, I mix markers with a variety of media. In this case I used them with ink, white gouache and gray-toned paper. (This is "Whale Tail Park", in West Seattle.)
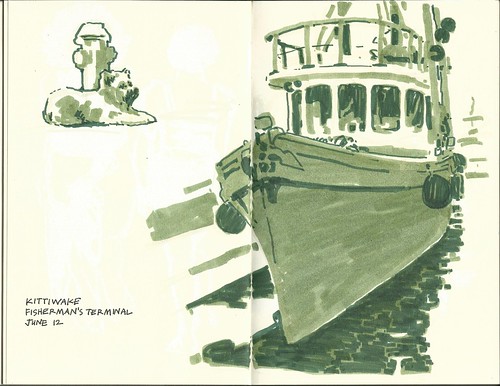
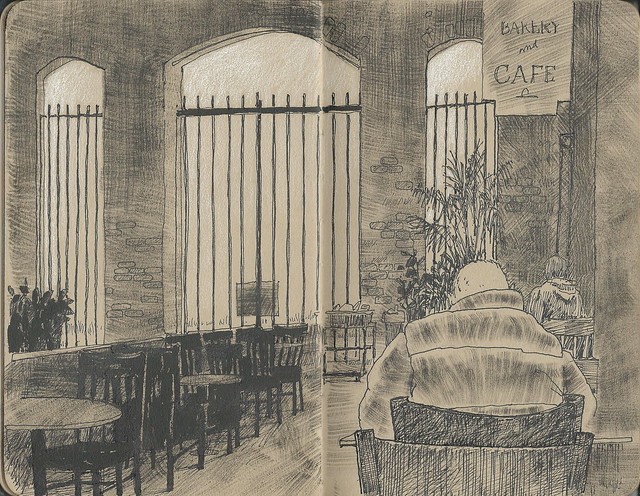
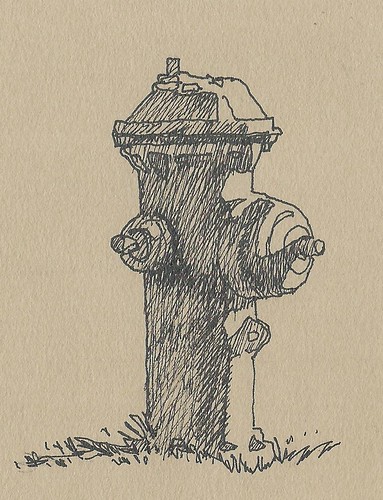
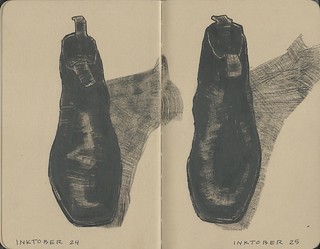
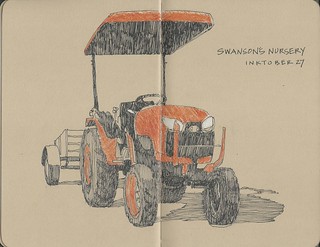
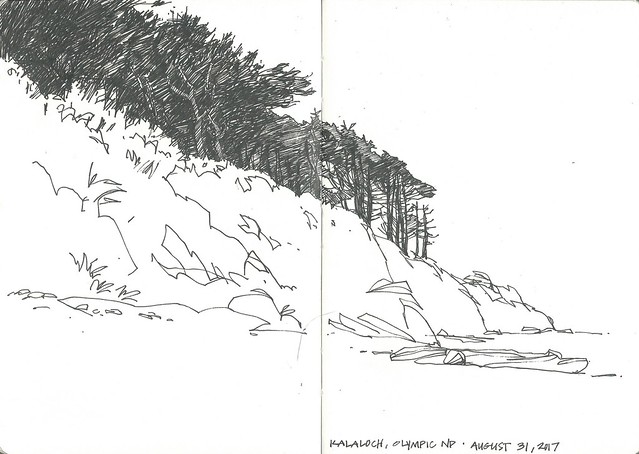
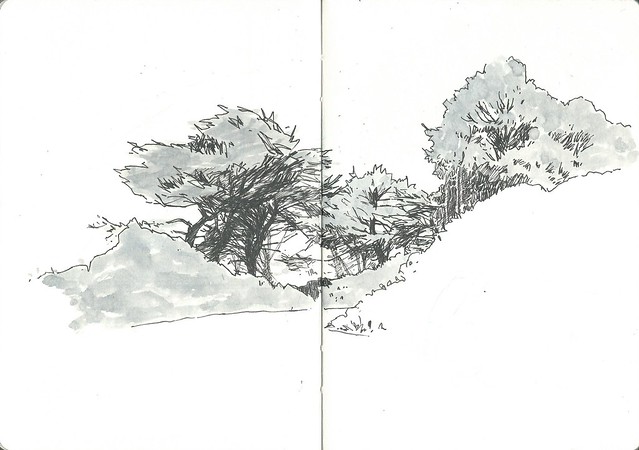
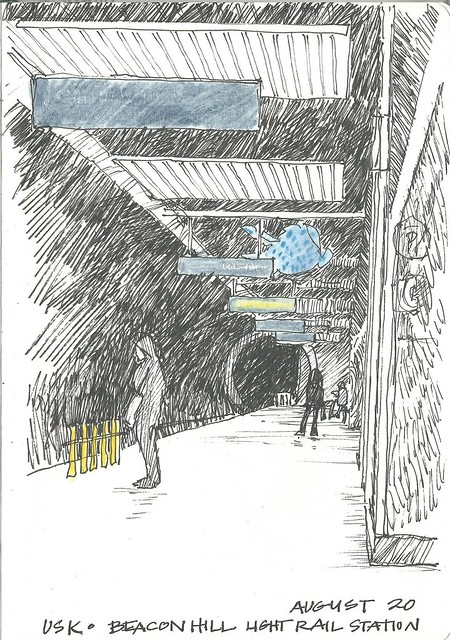
By far my favorite way uses just one medium value color marker with a pen and ink line drawing. This is a simple way to do location sketches quickly with a very small, light kit.
Markers are such a useful addition to a sketcher's kit. If you are interested in the class I am teaching next Saturday, call the Daniel Smith Seattle store to register: 206-223-9599.


 Urban Sketchers are celebrating their 10th anniversary (!). To celebrate, the local Urban Sketchers chapters in 26 different cities around the world will each be hosting a series 10 workshops on sketching their city.